Hello there, if you’re looking for information on “How to install Kali Linux on Android” and you’ve come to the right place.
Today, I’m going to show you “How to install Kali Linux on Android” in a step-by-step manner. This tutorial will teach you how to install Kali Linux in termux and how to install Kali Linux on Android without Root in the year 2021. And I’m certain you won’t find all of this unique information anywhere else on the internet as we have.
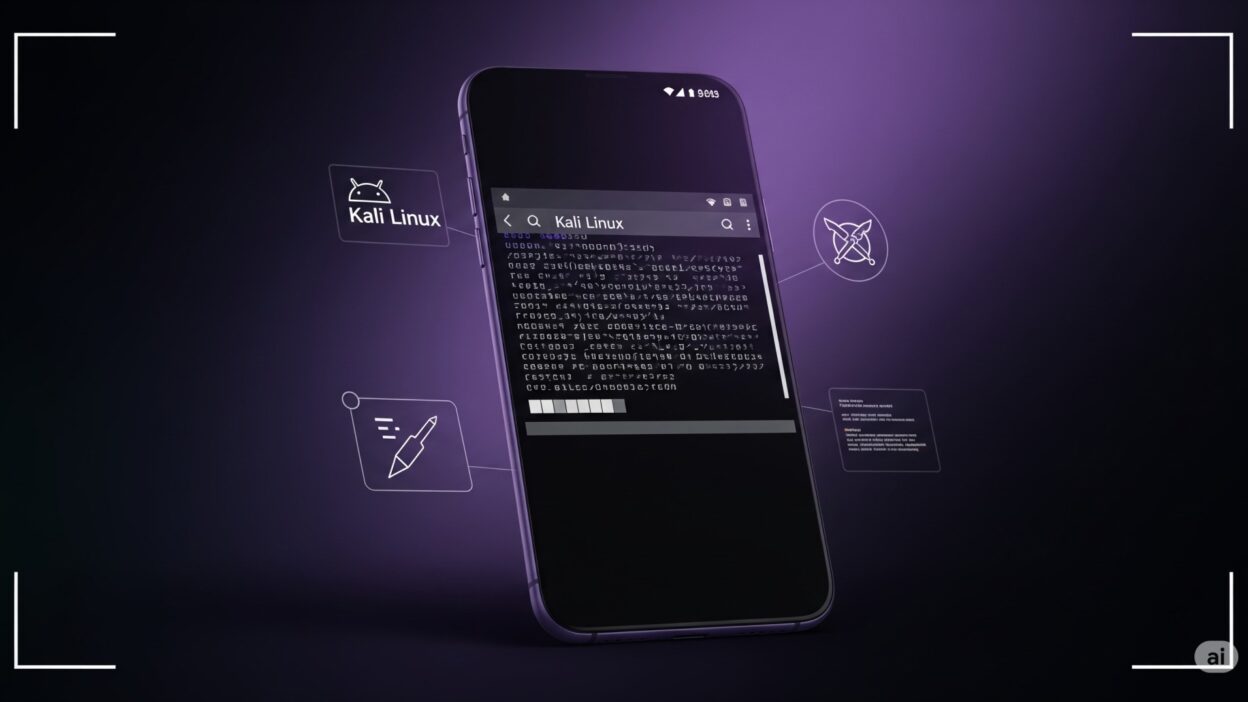
Intro to Kali Linux:
Kali Linux, based on the Linux kernel, is the greatest and most widely used penetration testing operating system. Kali Linux also comes with 600+ built-in penetration testing tools that are up to date and stable, as well as being easy to use and open source. As a result, we’d like to use Kali Linux not only on laptops and computers but also on Android smartphones. As a result, we created a comprehensive tutorial on the subject.
If you’re ready to get started with Kali Linux, the best and easiest way to do it is to install it without rooting your Android device. However, certain processes can take a long time and even fail, wasting your time, which is why we advise you to read the entire essay.
Install Kali Linux on android without root?
There are various prerequisites that must be met in order to install nethunter/kali Linux.
REQUIREMENTS (Termux)
- 3 GB of data storage
- 2.5 GB internet data
- 3 GB of ram for better performance
- Android with 7.0.0 and higher
- No-Root Device
I hope you have followed all the requirements properly.
1. Install the Termux app from playstore, and update & upgrade it.
apt-get updateapt-get upgrade2. After updating Termux, Install basic packages like python, curl, wget, php, etc.
apt install -y python php curl wget git nano3. Now open the Termux home directory.
cd $HOMEtermux-setup-storage4. Now download the shell installation file of nethunter.
wget -O install-nethunter-termux https://offs.ec/2MceZWr5. Now open get into the home directory and give RWX permission to the installation file.
cd $HOMEchmod +x install-nethunter-termux./install-nethunter-termux6. The installation process can take a lot of time so now, keep your device besides and wait for it to complete 100% process. After that exit from termux and then open termux again and follow the below steps. Open termux and type the below command to start nethunter.
while accessing the root privilege you may get a request for a password so the password is Kali.
nethunter -r7. After starting nethunter to become superuser (rooted user), Use the below command.
and after some time the update and upgrade will be completed without any issues.
apt update && apt full-upgrade -y8. Now, you successfully have installed the nethunter os in your termux without any issues, In case if you face any issues please go to the bottom of this page and watch our practical video. your issues will be cleared without any hassles.
9. Now, if you want to use nethunter as GUI (Colourful User Interface) then, follow the below steps.
- Install VNC viewer app from playstore (click here)
- Open termux and start nethunter as followed in step 6
- After that paste below commands and start using the GUI of nethunter
- In this step you have to give password which is used to access gui of nethunter so,
- While completing steps if you want to access view only password so type (n) there.
nethunter kex passwd10. Now, follow this step and after that, you can view GUI in vnc viewer app.
nethunter kex &11. Now, open VNC viewer app and click on the plus icon in the app which is located in the bottom. After that click on. A new pop window will be opened in that you can see (new connection) like text, in that below section you can see two options 1) Adress 2) Name
in address section type 127.0.0.1:5901 And in Name type Kali. And click on connect after that it will start your nethunter os and you can use it easily. And to stop using it disconnect from vnc viewer app and open termux where you started nethunter in that window type below command.
nethunter kex stopIn case if the above method didn’t work then. I have 1 more method for you so chill, and follow the below methods. these methods are still working in 2021. And I don’t have any idea about 2022 and all.
12. Now, from here we are following the second method to use GUI without any issues so get ready and make sure you already followed the 7th step from this post if you didn’t then please make sure to complete it.
13. So. Now follow the below command to install the new key server for using GUI in vnc server app and I’m 100% sure that this method works without any issues.
apt install tightvncserver14. So. Now follow the below command to install a new key server for using GUI in vnc server app and I’m 100% sure that this method works without any issues.
cd $HOMEcd .vncchmod +x xstartup15. So. Now follow the below command to install a new key server for using GUI in vnc server app and I’m 100% sure that this method works without any issues. use all these commands inside nethunter CLI not termux CLI
cd $HOMEexport USER=$HOMEtightvncserver16. Now, open vnc server app and follow the 11th step of this post, and when it asks for a password type the key password there in the VNC viewer app and then your nethunter os will start.


